Discover a comprehensive guide on how to install brick veneer in your home. Follow our step by step instructions for a stunning and durable brick veneer installation. Embark on your DIY project today!
Preparing for the Installation:
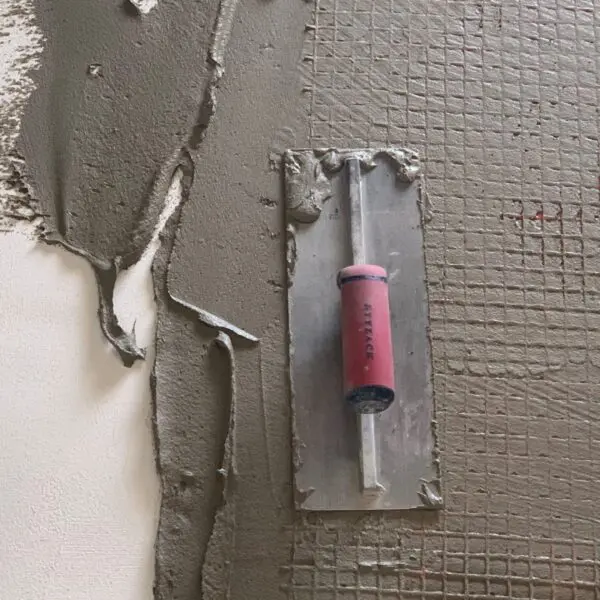
Lay a Solid Foundation by Gathering Necessary Tools and Materials – Bricks, Mortar, Trowels, Level, Masonry Hammer, Safety Goggles, and Gloves. Ensure the Surface is Clean, Dry, and Well-Prepared. In Many Cases, Reinforce the Wall with Optical Fiber Mesh for a New Layer of Robust Cement. This Special Large-Mesh Net Strengthens Unstable Substrates, Eliminating the Risk of Subway Operation. Always Start from an Appropriate Surface.
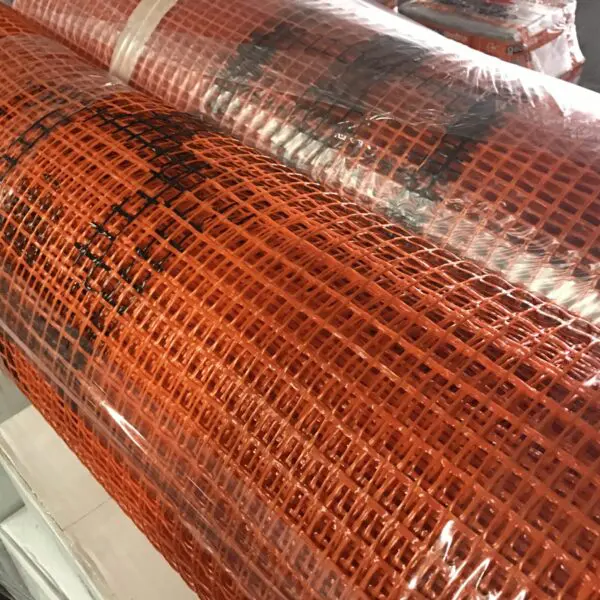
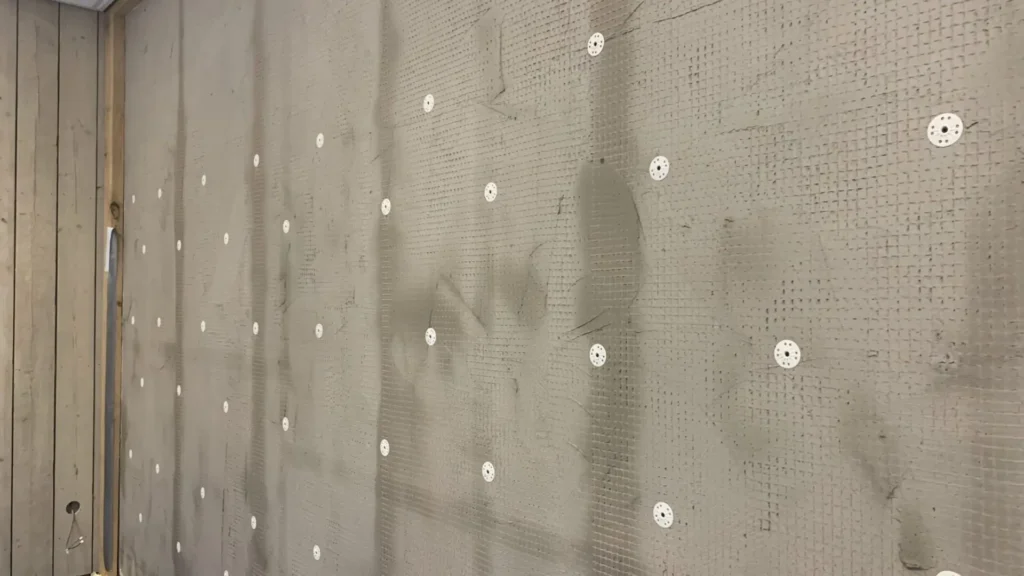
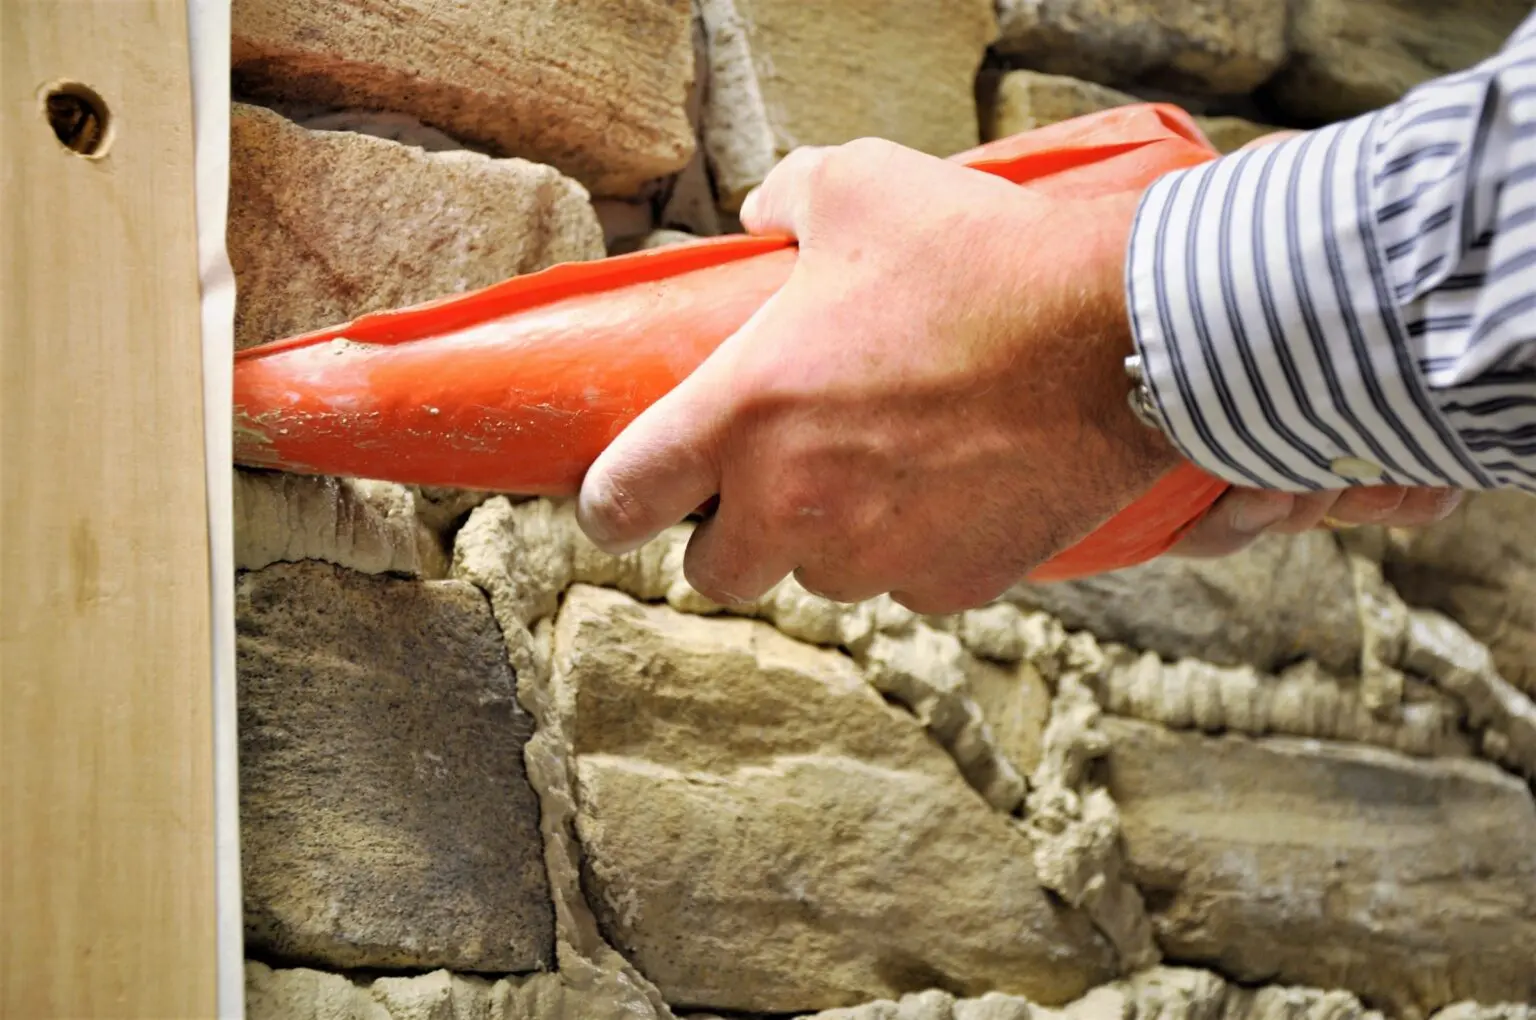
for Dubious Surfaces, Such as Painted or Plastered Areas, or Those Made of Sheets, Use Fiberglass Mesh for Added Security. Apply Support with Cement-Based Adhesive, Install Orange Mesh 10 cm Apart, Similar to Hanging Wallpaper. Drill Holes, Insert Plugs, and Secure Mesh with Screws. Ensure Wall Suitability and Load-Bearing. Finish Fiberglass Mesh with Adhesive, Let Dry, and Adhere brick veneer.
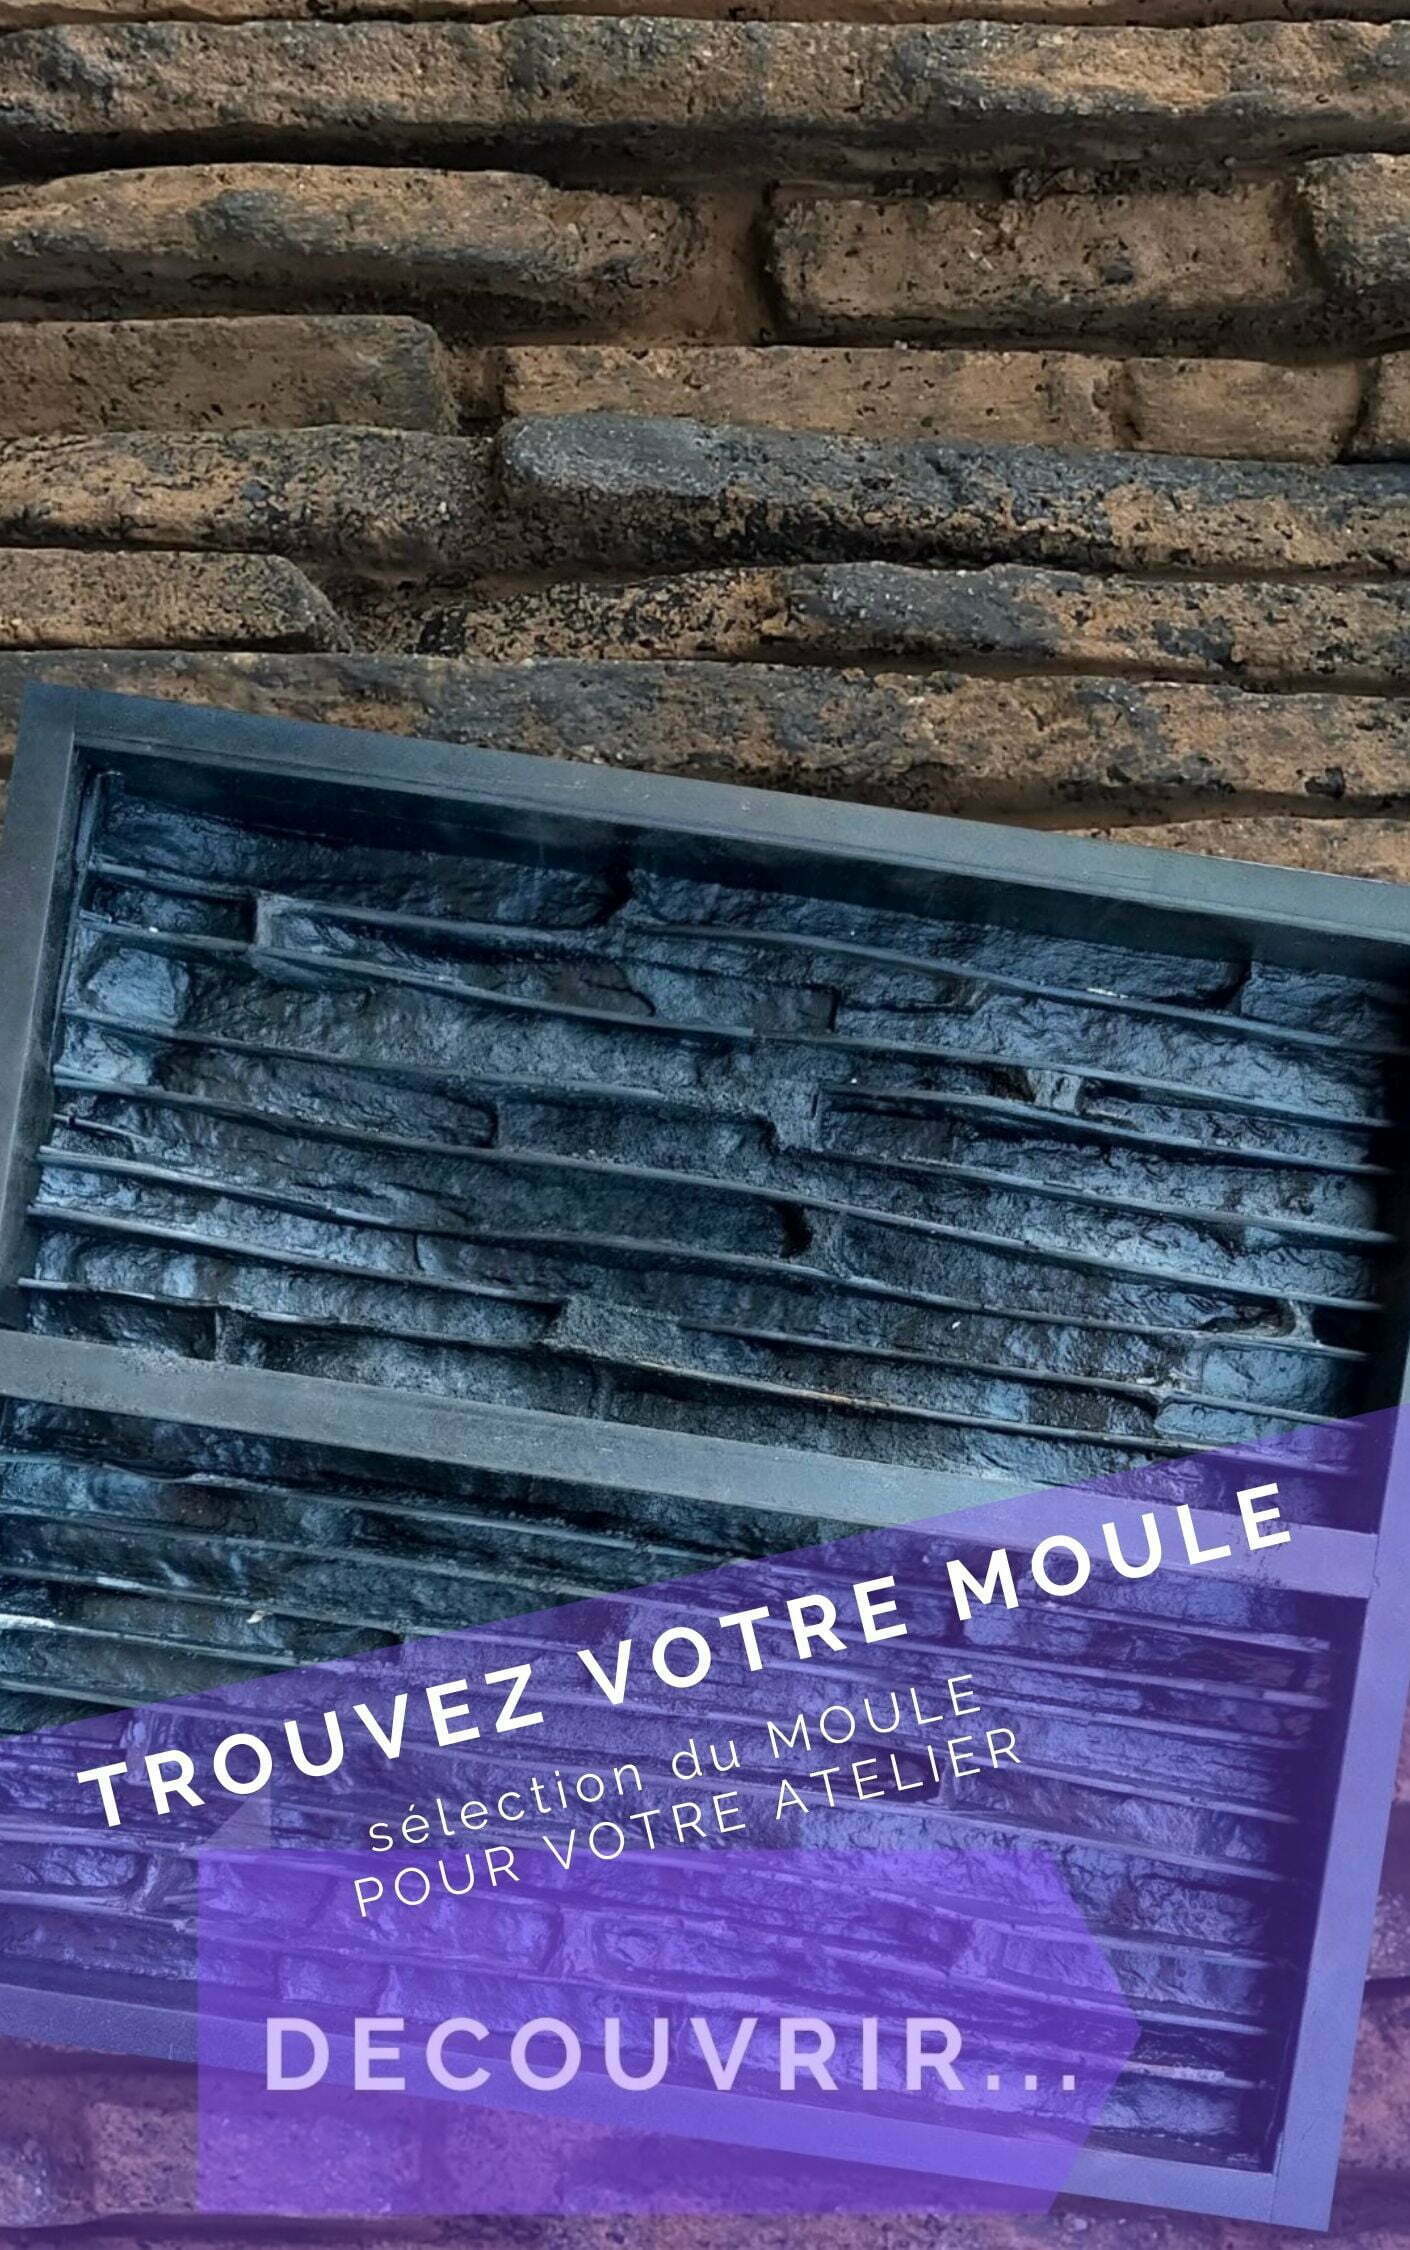
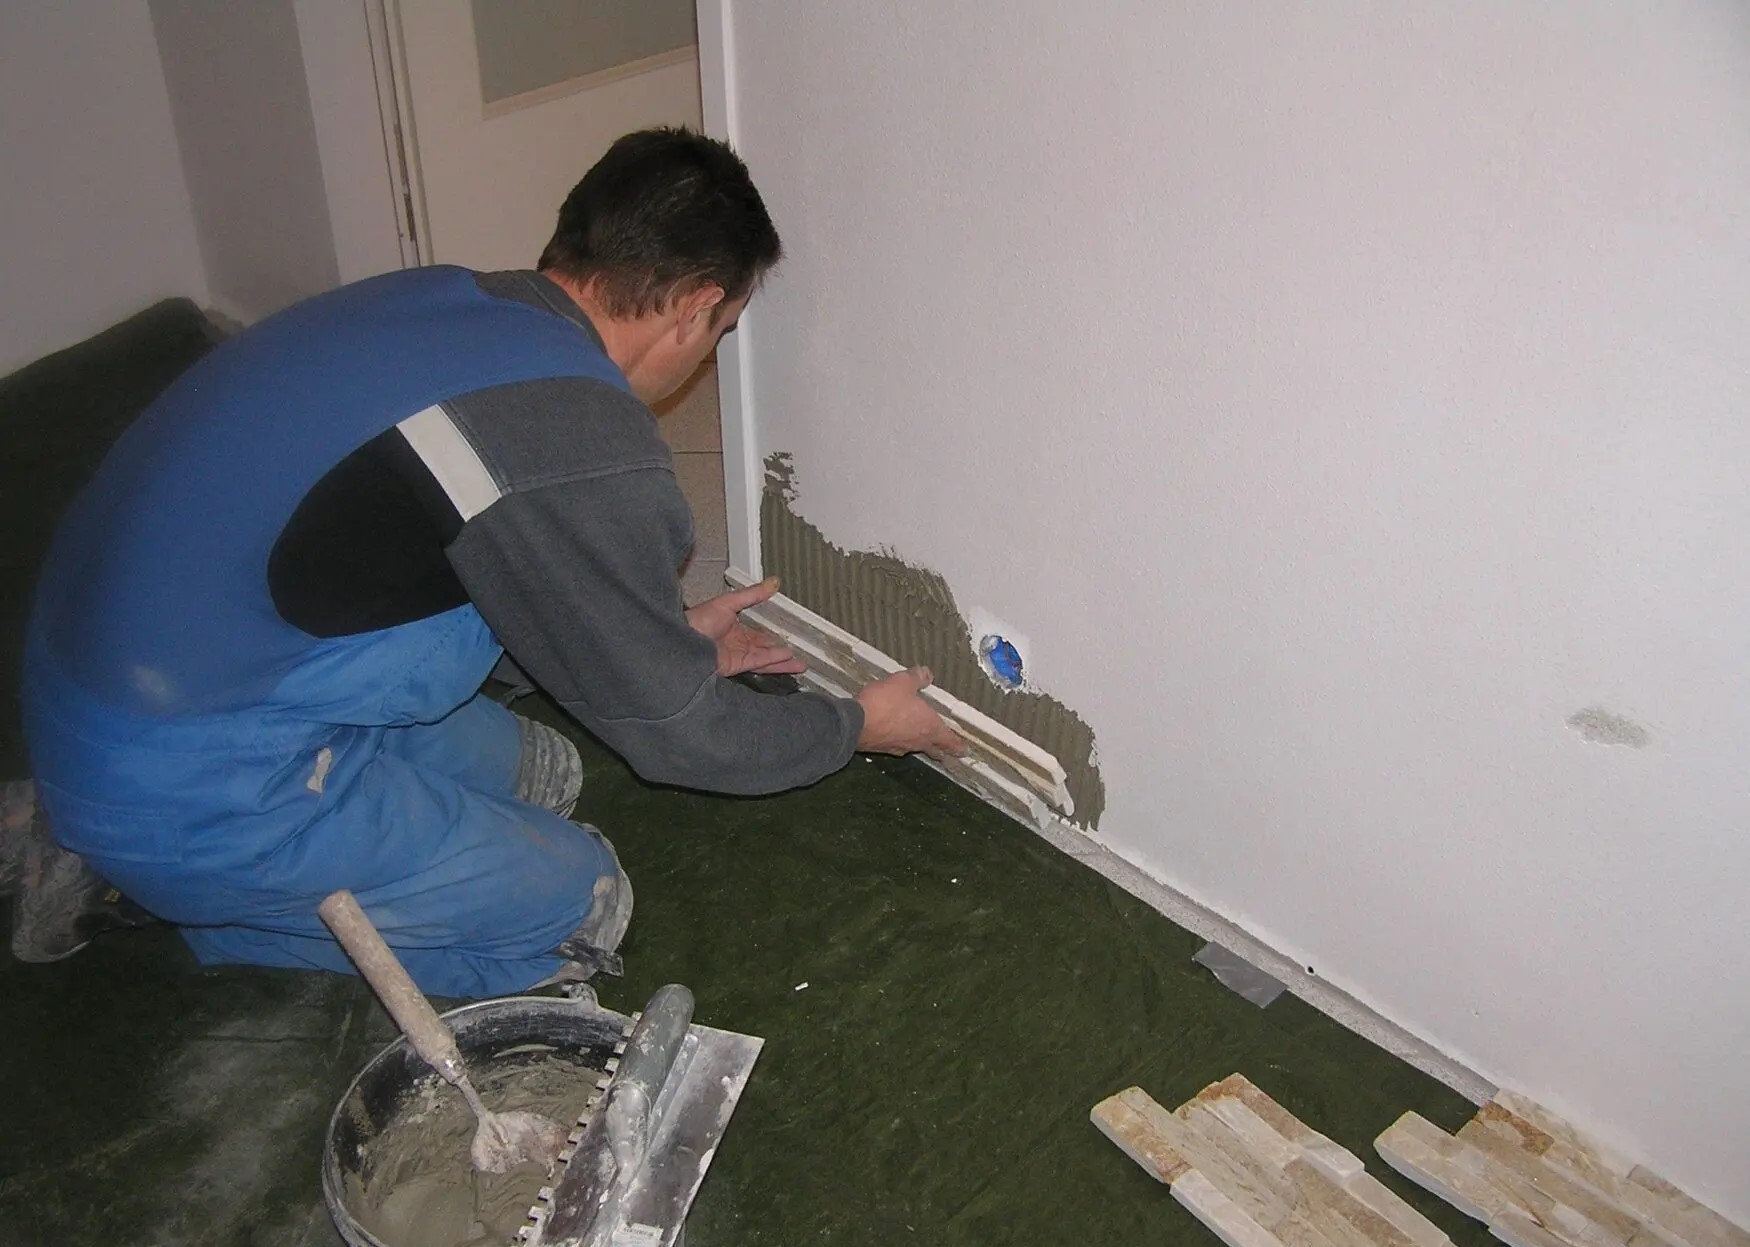
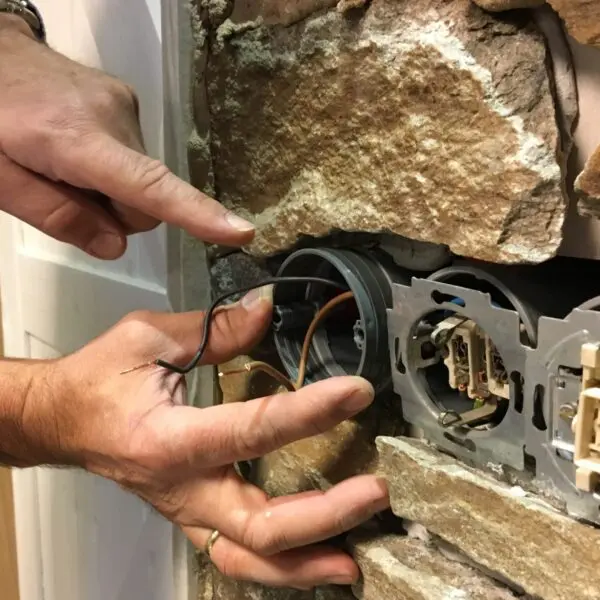
Start from the bottom, and for corners, always begin with the most challenging one. Check and fill visible lines with cement if needed. The recommended adhesive is Sika. Ensure that the adhesive on the front of the bricks is removed.
Design and Planning
A well designed brick veneer installation can enhance the visual appeal of your space significantly. Take the time to plan the layout, considering factors such as pattern, color, and size. Experiment with various designs to determine the best fit for your taste and style. Additionally, take accurate measurements to determine the quantity of bricks and mortar required for your project.
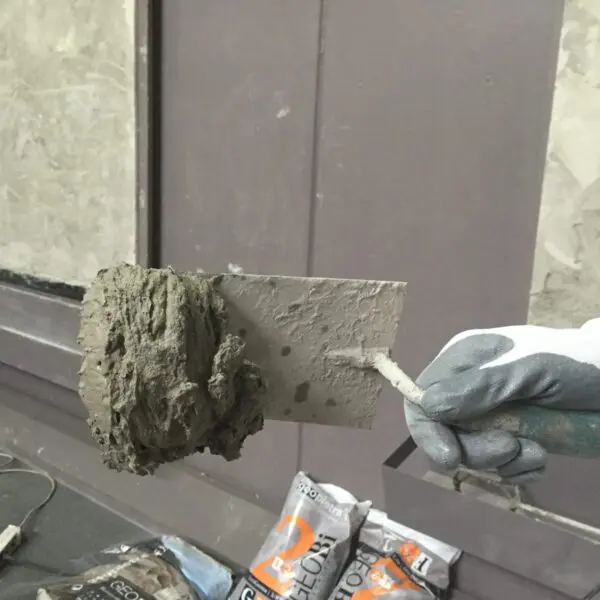
Adhesive Treatment for brick veneer installation
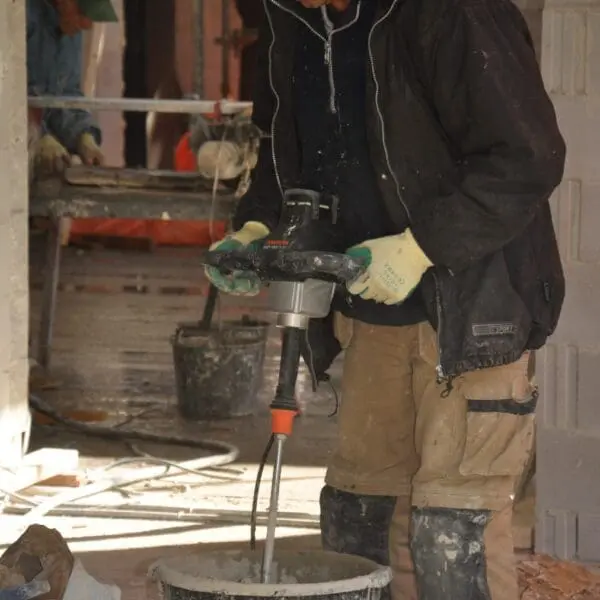
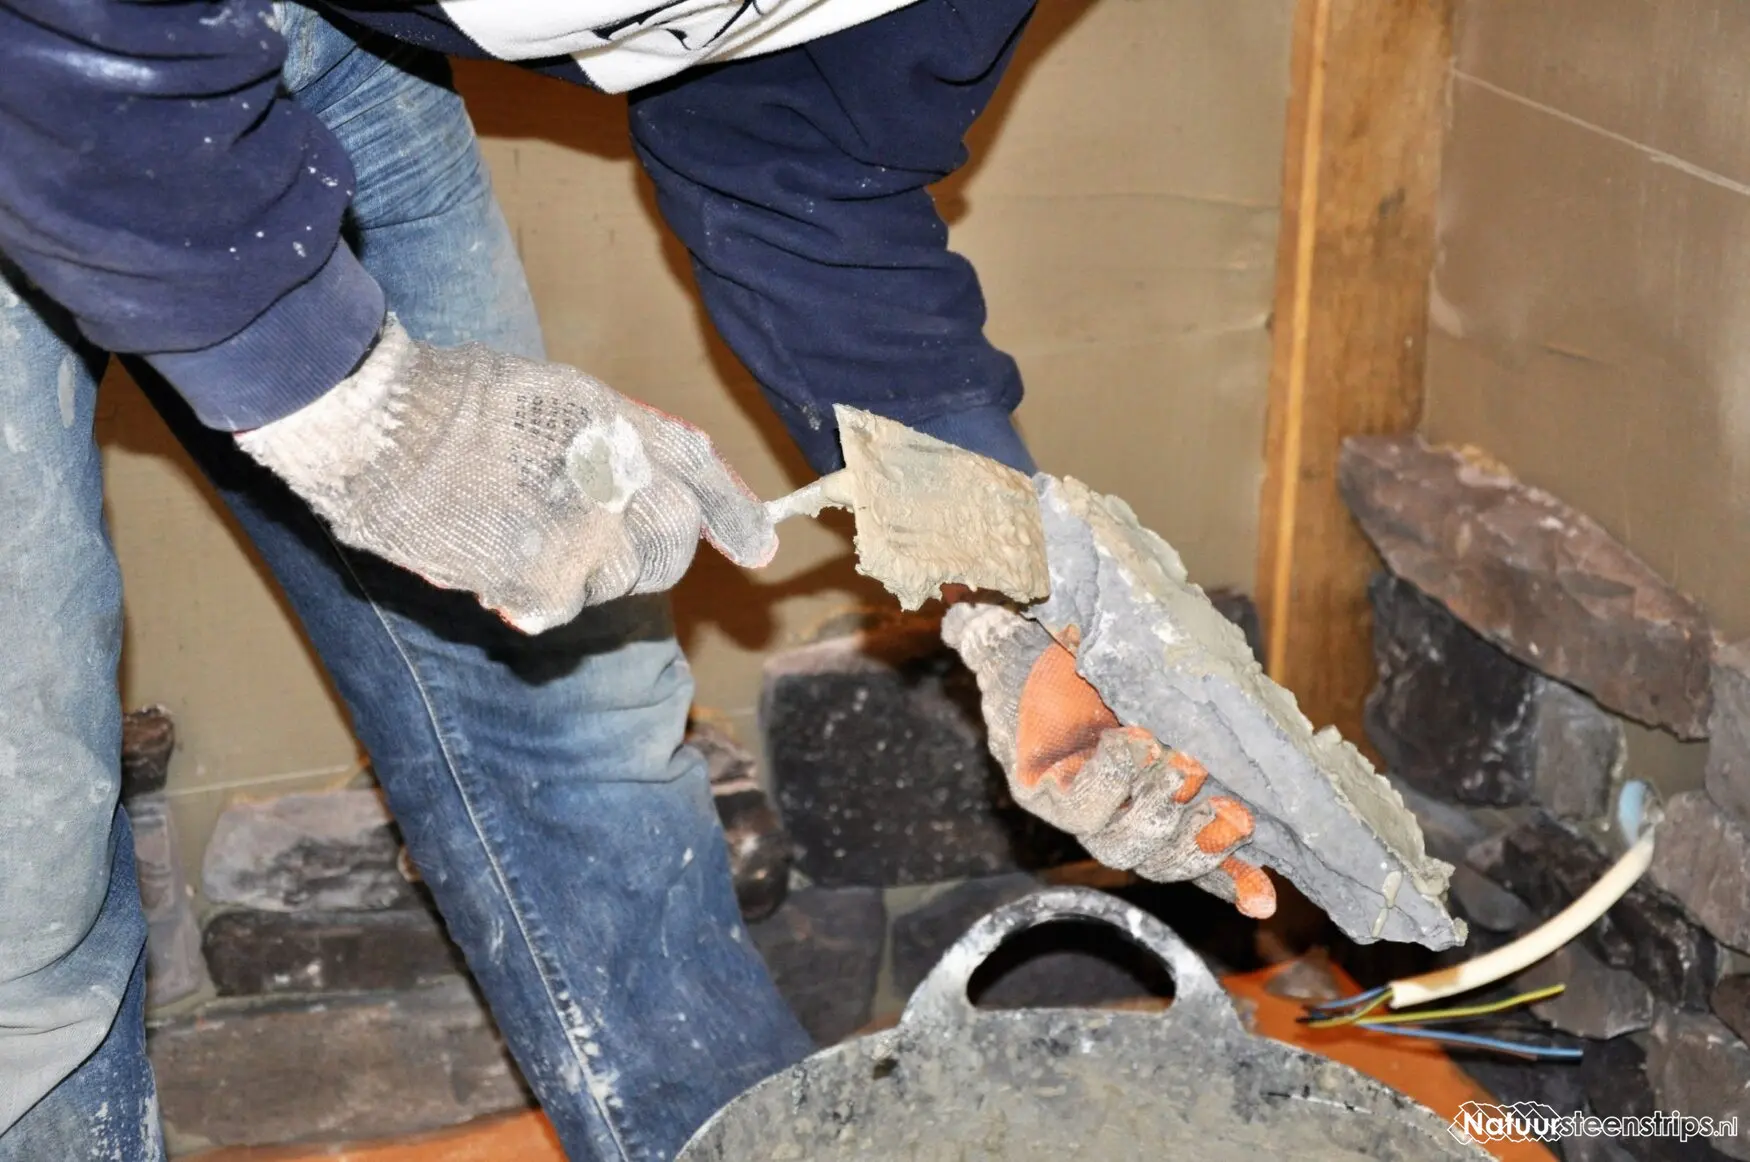
Mortar serves as the bonding agent that holds the bricks together. To mix the mortar properly, follow the manufacturer’s instructions. Begin by adding water to a mixing container and gradually incorporate the mortar mix. Use a trowel to create a consistent and workable mix. Once prepared, start applying the mortar onto the surface using a notched trowel, ensuring even coverage. This adhesive is specially optimized for a long processing time and can be used on any cementitious substrate, including external wall insulation systems (Adhesive for brick slips to EPS).
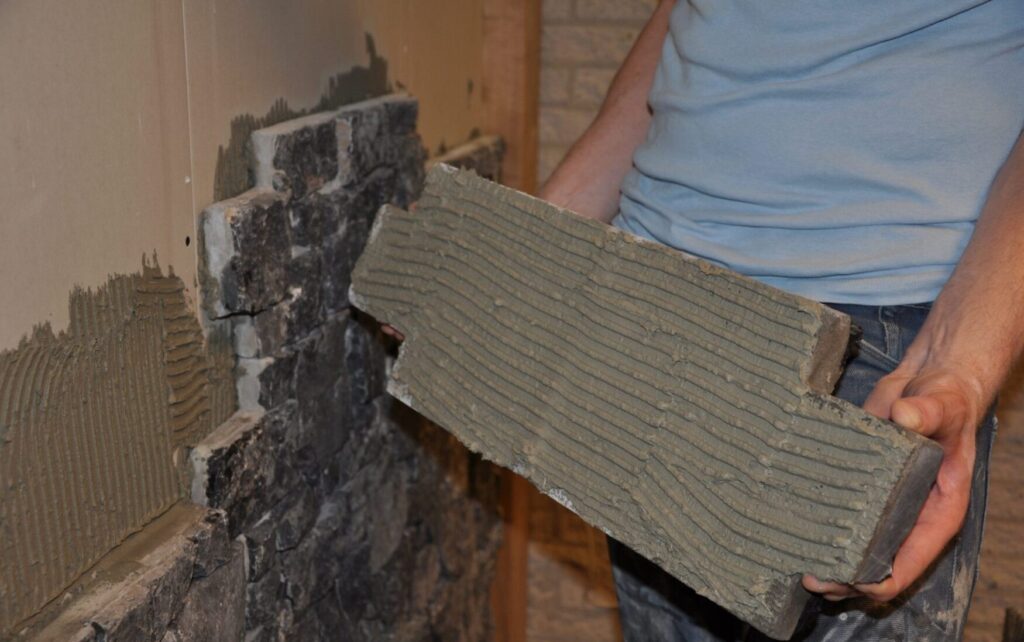
- Avoid applying too much glue at once.
- Adhere to the “Butter and Float” method for both the wall and the mortar.
- Place the brick firmly against the wall with a sliding motion.
- Glue the brick again to fix it to the wall.
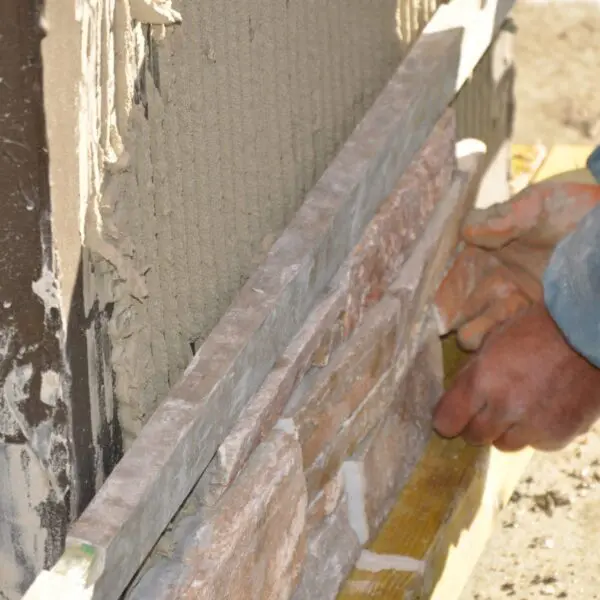
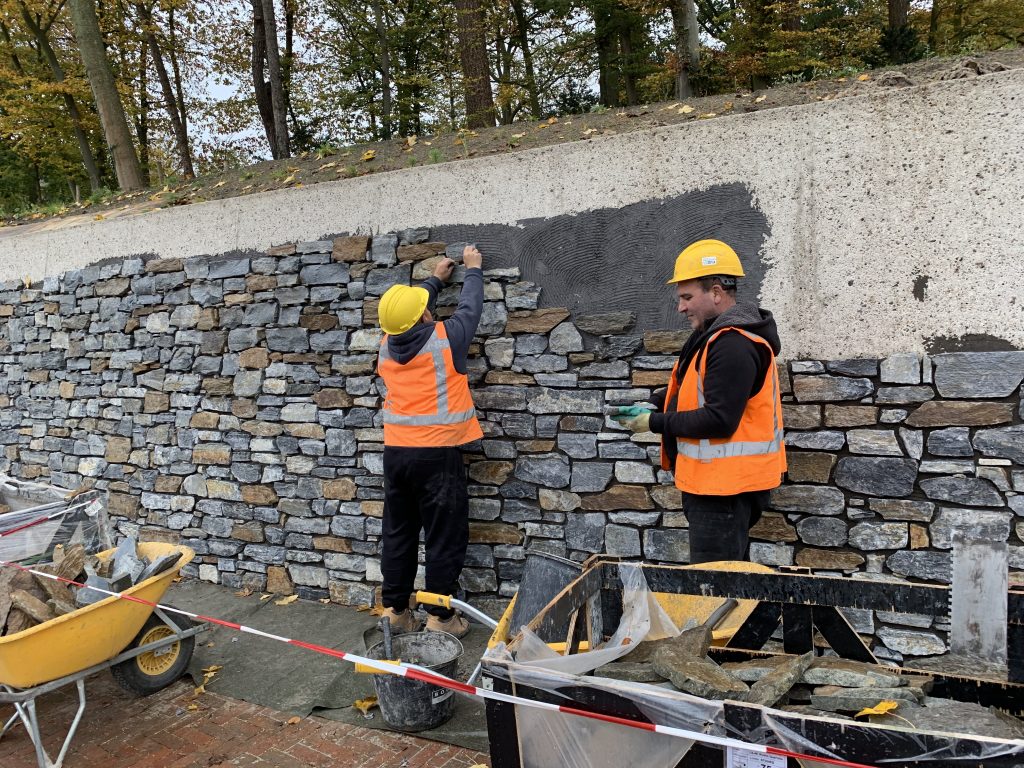
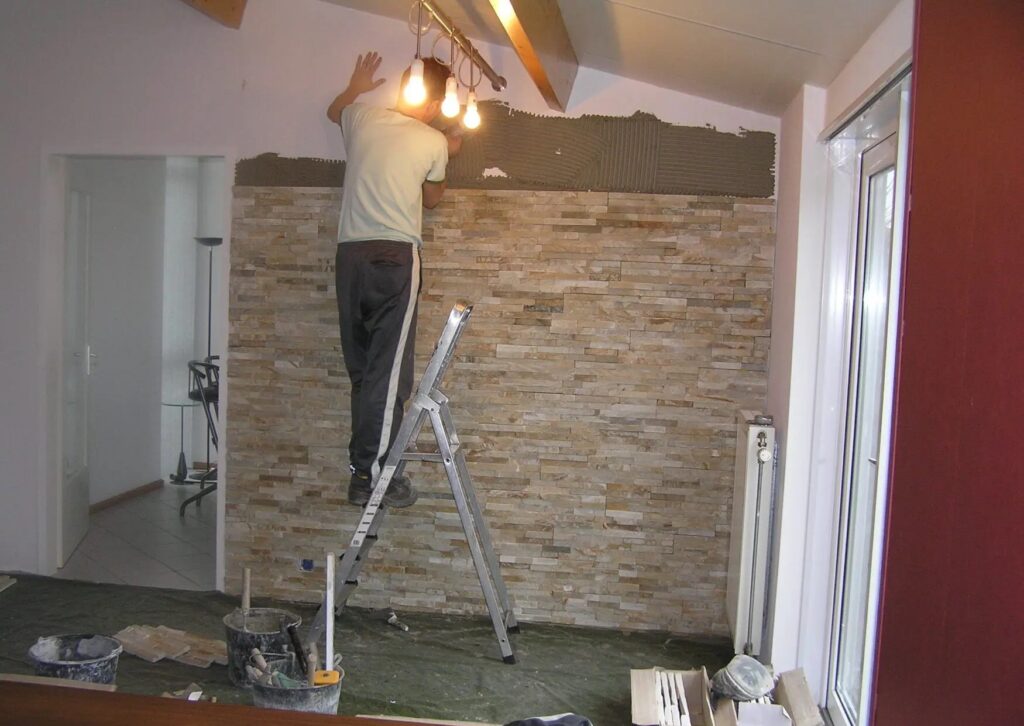
Laying the Bricks
Start laying the bricks from one corner of the designated area, working horizontally. Apply mortar to the underside of each brick and press them firmly into place. Use a level to ensure the bricks are aligned and maintain the desired height. As you progress, periodically check the levelness both horizontally and vertically. Remember to leave gaps between bricks for expansion and contraction.
Cutting Bricks
Inevitably, you will need to cut bricks to fit corners, edges, or irregular spaces. Utilize a masonry hammer and chisel to score the brick’s surface along the desired cutting line. Place the brick on a hard surface, align the chisel along the scored line, and gently tap it with the hammer until the brick splits along the line. Be cautious and wear safety goggles to protect your eyes during this process.
Finishing Touches
After the brick veneer installation is complete, remove any excess mortar and ensure all joints are evenly filled. Use a pointing trowel to neatly finish the joints. Clean the surface of any mortar residue with a stiff brush and water, taking care not to damage the newly installed bricks. Allow the mortar to cure for the recommended time before subjecting it to heavy use.
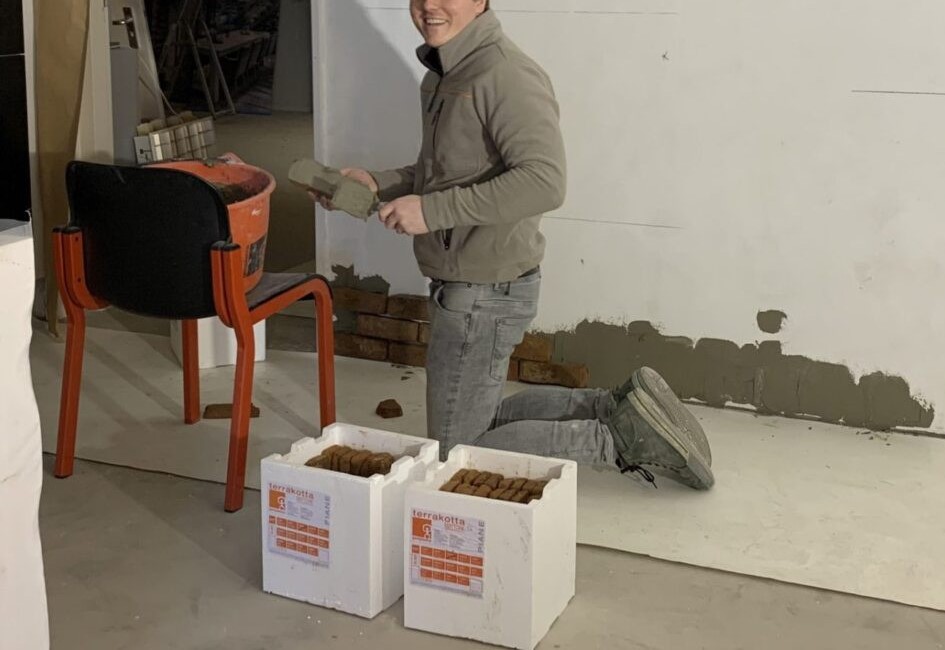
how to install brick veneer Photo Album


By following this step by step guide on how to install brick veneer, you can achieve a stunning and durable finished product that will enhance the beauty and value of your home. We hope this article has provided you with the necessary knowledge and inspiration to embark on your brick veneer installation project.
“The difference between a good wall and a great wall lies in the details of the joints.” Unknown

ADVICE
Top advice from leading experts addressing your design dilemmas.

Why trust us?
At IHouse STONE, we are committed to delivering top-notch home inspiration and design education. IHOUSE STONE serves as your ultimate guide for purchasing premium products. Our devoted team conducts comprehensive research, reading reviews from reputable sources to ensure you receive thorough information. We rigorously test each product on reliable websites, offering trustworthy conclusions.