Discover the Secrets to Achieving a Flawless Brick Wall with Joints
Are you ready to transform your space with stunning artificial stone walls? Learn how to master the art of brick joints and create a show stopping masterpiece!
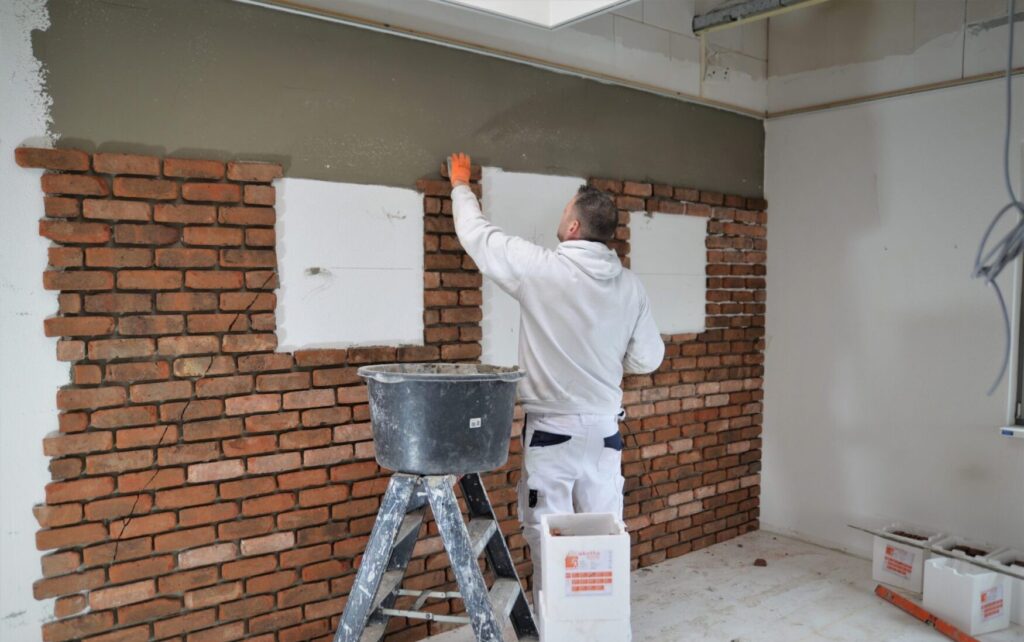
Both the aesthetic and functional aspects of brick slip mortar are crucial when it comes to creating a wall. While the color and shape of the stones often steal the spotlight, the quality of the joints is equally important. The way you joint your brick slips significantly impacts the overall appearance of your wall, making it a crucial element to get just right.
When it comes to brick slips, you have the freedom to create your own artificial stone wall with ease. The key is to ensure that the space between the stones is no more than 0.5 to 1 cm, although this might vary depending on your preferences and the style you want to achieve. By default, the stones are calculated with an average joint, and then the joints are added using a piping bag (or occasionally a trowel in certain cases).
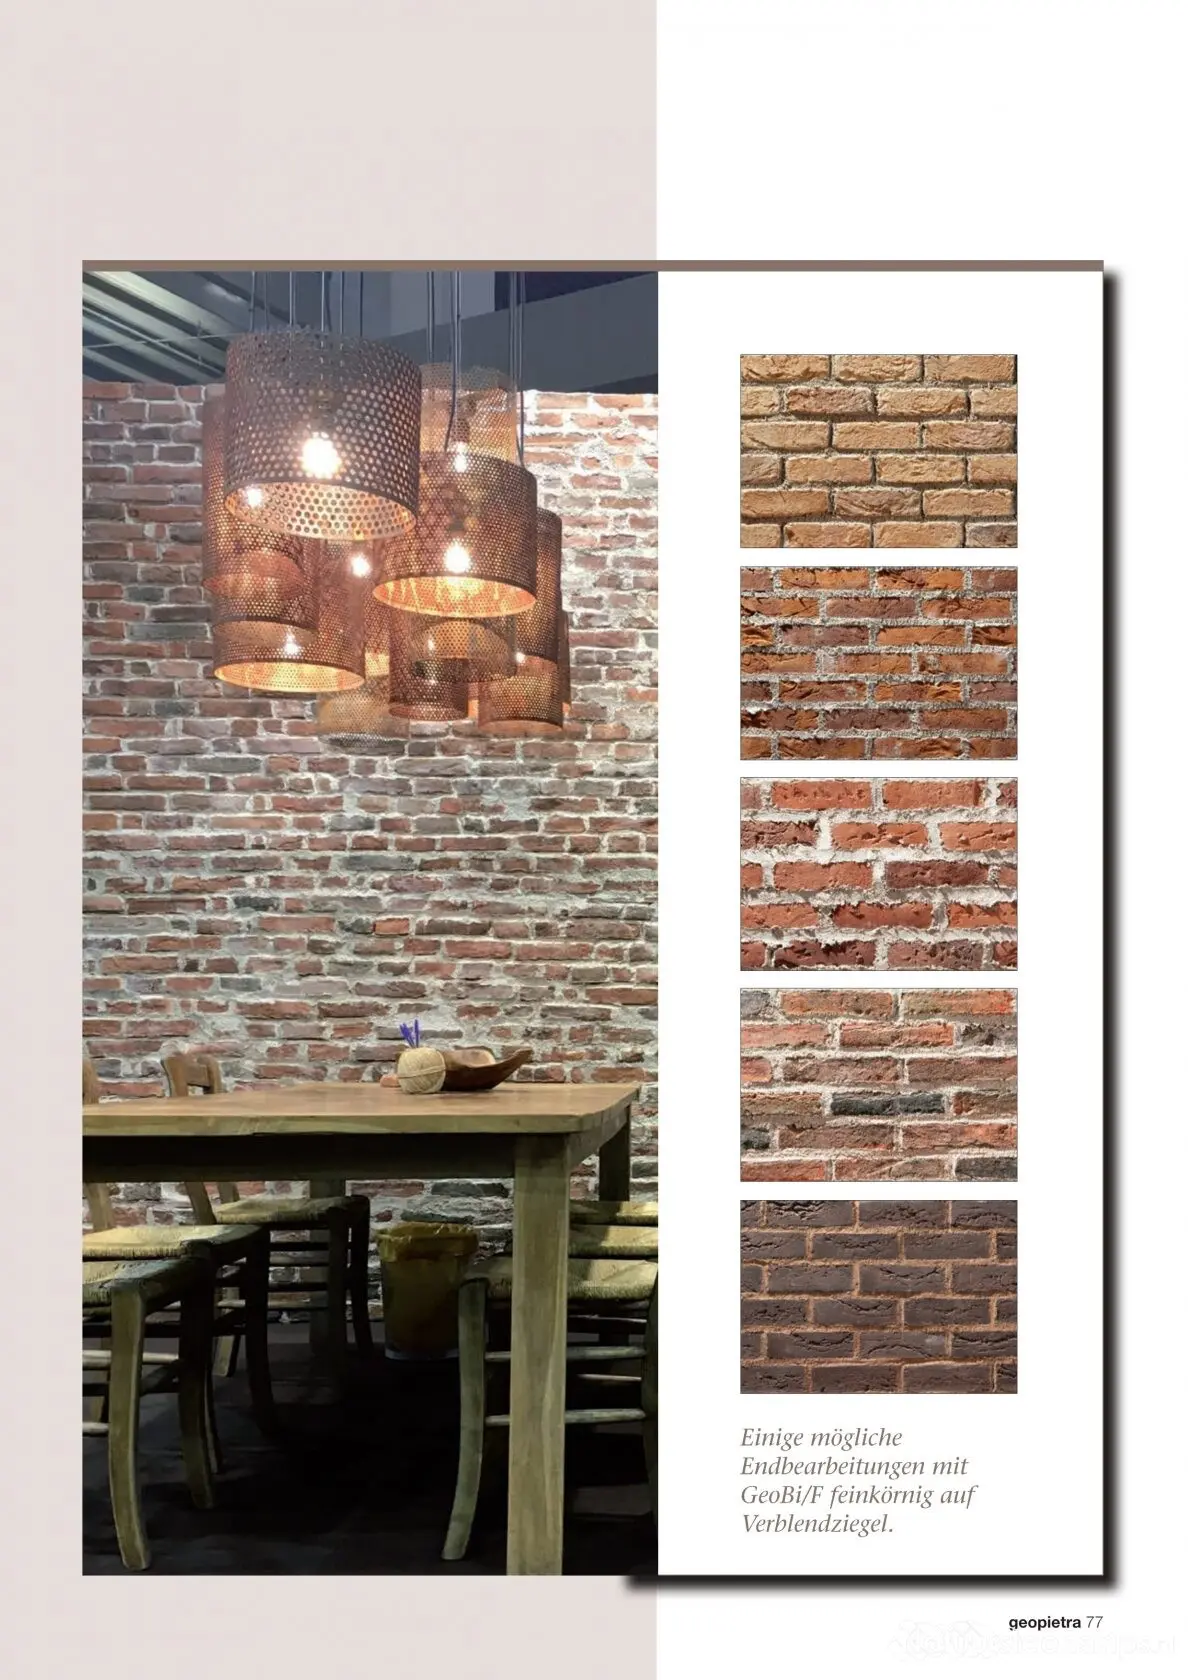
Choosing the right joint color is a gamechanger in achieving the desired look for your brick slip wall. Opting for a contrasting joint color to your brick slip design creates a striking effect, emphasizing specific design elements. On the other hand, using a joint color that matches the brick slip color harmonizes the wall, creating a soothing and seamless look. Additionally, the color, width, and depth of the joint, along with the added granularity, determine the final appearance of your facade cladding.
Injecting Shell Slips Like a Pro: Piping Bag Techniques for best Brick Joints
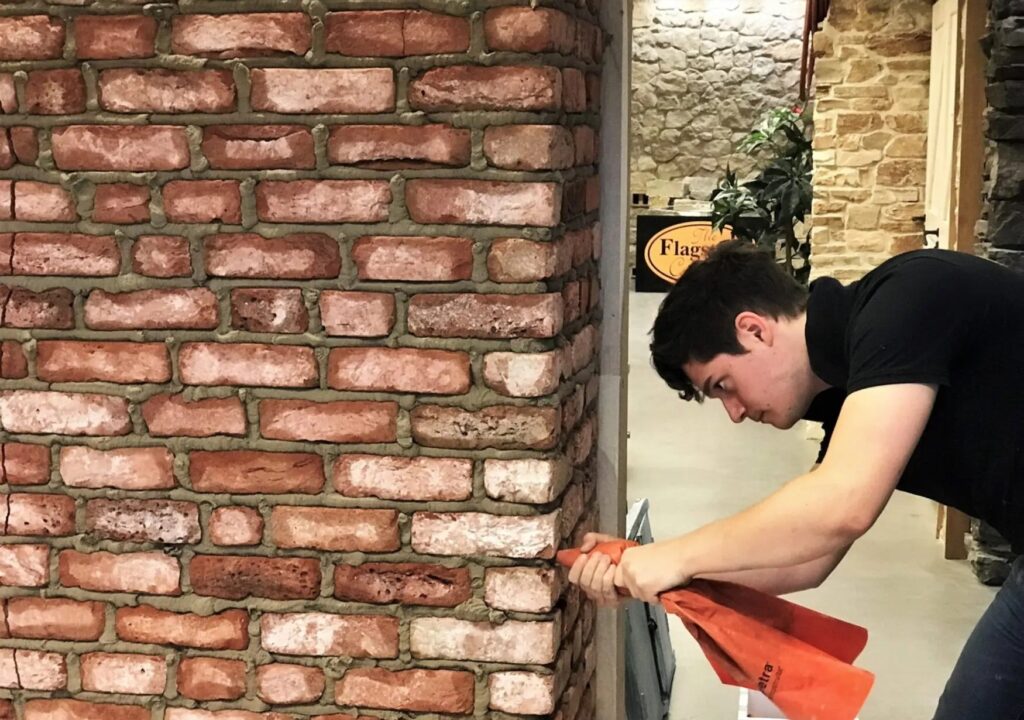
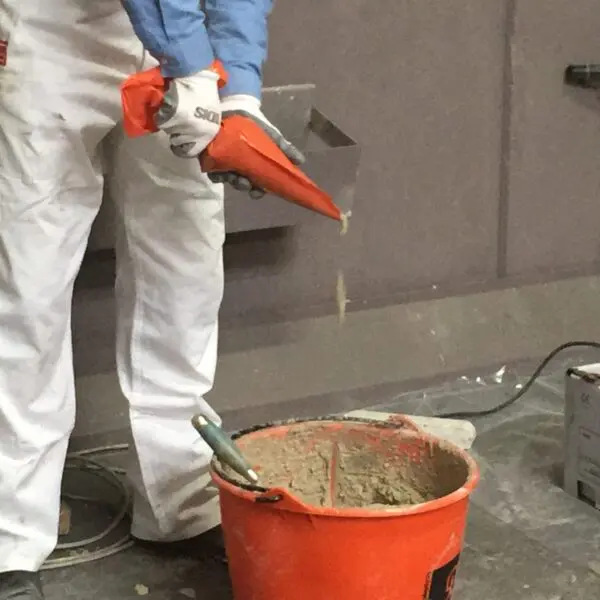
Ready to inject your brick slips? Grab a piping bag and follow these expert techniques. Start by cutting a small piece off the tip of the bag and a small piece on the side, allowing your index finger to fit perfectly. Fill the bag with jointing cement and spray it into a bucket to ensure it easily sprays between the thickness of the brick slips. If needed, adjust the size of the bag opening or slightly dilute the grout cement with water. Pro tip: fill the piping bag halfway to make your work easier.
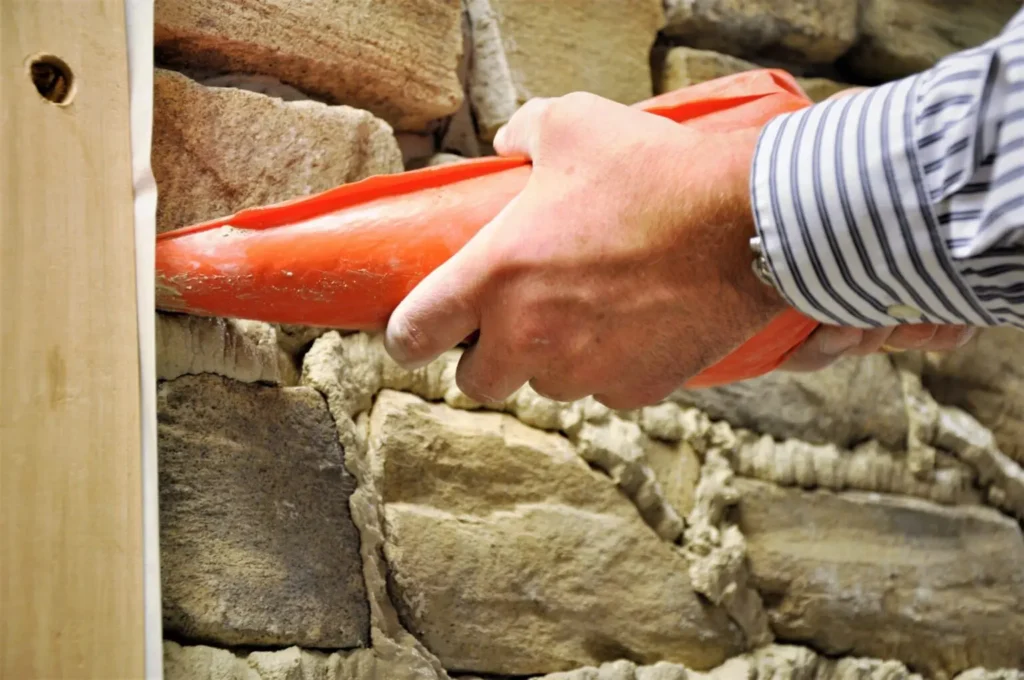
Before you begin injecting the brick slips, make sure to squeeze out any air from the piping bag to avoid uneven joints or holes in the grout. Aim the piping bag directly into the joints, applying the grout in a circular motion from an angle of about 45 degrees. Remember not to squeeze the bag too hard, as it can introduce air and create flaws. A gentle twisting motion is all you need to achieve seamless joints. Keep the other hand under the grout piping bag for better control.
Brick Joints Grouting: Finishing Touches for Picture Perfect Walls
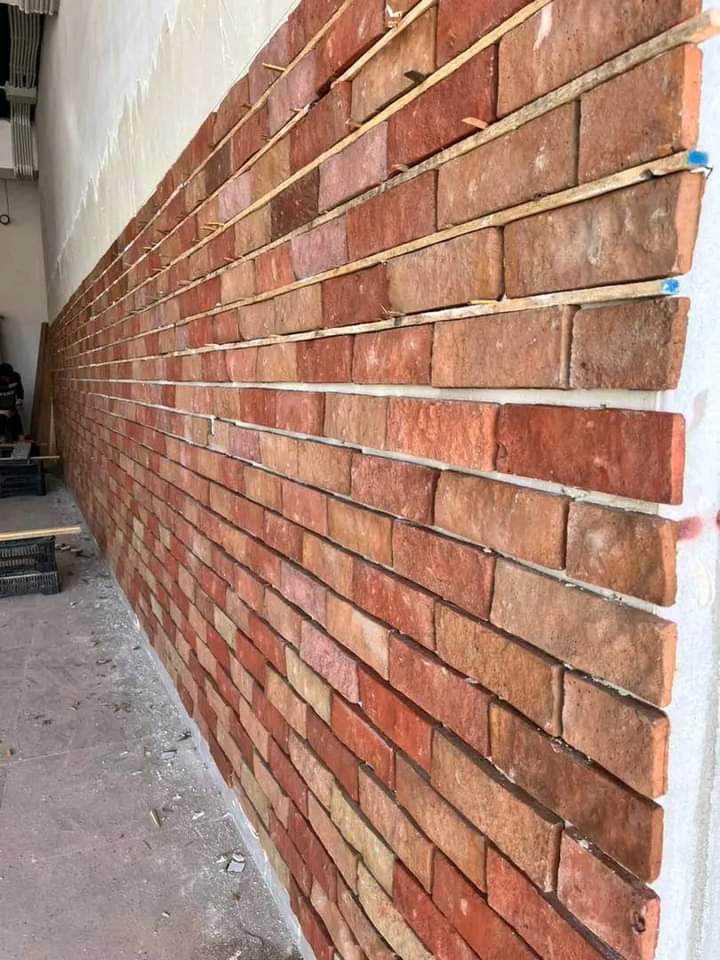
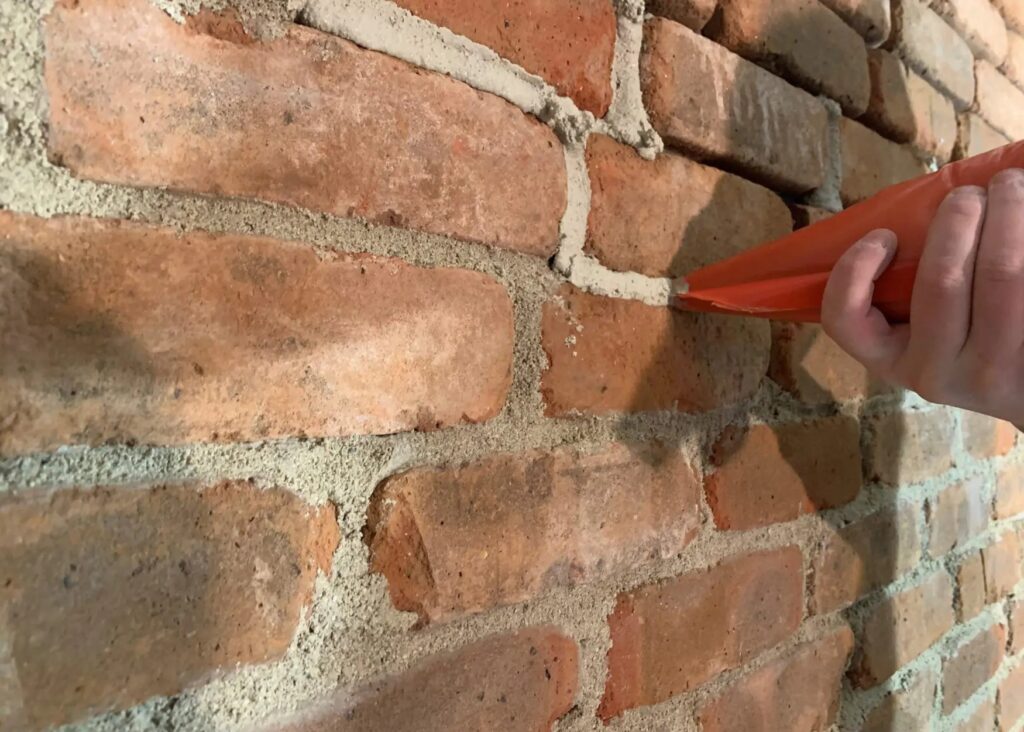
Once your brick slips are securely in place, it’s time to focus on grouting. Before you start, create a small test board to check the performance of the grout. Instead of washing the joints, scrape them when they are reasonably dry. To ensure quality grouting, gather a large bucket, a trowel, and clean water. Add the grout in one direction, preferably starting from the top, to conceal the cut edges of the brick slips effectively. Working in a single direction will ensure a structurally sound and visually appealing joint cement structure.
“The difference between a good wall and a great wall lies in the details of the joints.” Unknown
With these expert tips and techniques, you’re well equipped to create your own stunning brick slip wall. Master the art of brick slip joints and transform any space into a work of art!
Remember, the key to achieving a flawless wall lies in your attention to detail. So grab your piping bag, select the perfect joint color, and get ready to amaze everyone with your incredible brick slip craftsmanship. Start creating and let your imagination run wild!